

How to Install JDK?
The following article provides a simple idea for installing JDK. The Java Development Kit (JDK) is helpful to write programs in Java. It is also known as the Java Platform Standard Edition (Java SE). JDK is an open-source software provided by Sun Microsystems, now taken over by Oracle, for anyone to use freely for programming.
Do many people have the question, JDK or JRE? So let us look at what each is used for. Java Runtime Environment (JRE) is required for running programs of Java, whereas JDK is required for writing and running the programs. JDK is a development kit containing JRE and the development tools (debugger and compiler) needed for getting a program output in Java. Simply put, JRE happens to be a subset of JDK; that is, it is included in JDK. Therefore, we will need to install JDK to write and run programs.
Step-by-Step Installation Of JDK
Step 1: Download JDK from the Site
Go to the Oracle site and open the Java SE download page. Under the latest version of Java Platform, Standard Edition, click on the JDK download button.
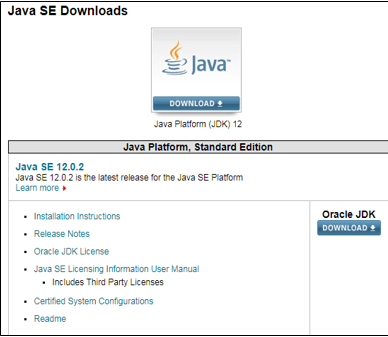
Next, click on the Accept License Agreement button and choose your version of Java for Windows (32-bit or 64-bit) to proceed with downloading the JDK executable file.
Step 2: Install the JDK File
In this step, we will be running the executable JDK file (It will be a file with .exe as an extension) once the download is done. This installs JDK as well as JRE. For running this file on Windows, we will need Administrator rights.
To begin the installation, we need to double-click on the downloaded file, and we will be presented with the below window.
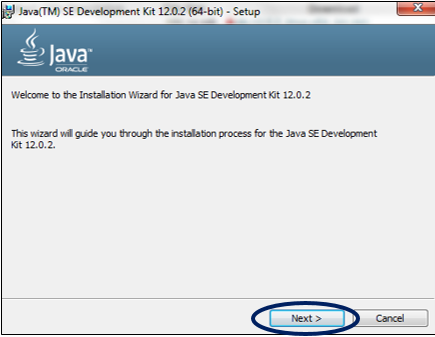
Click on Next to proceed with the installation, and follow the Installation guide provided for any queries.
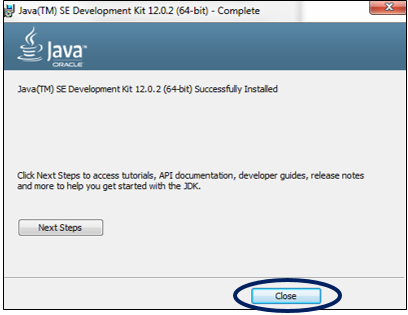
Click on the Close button once the installation has finished.
- To recover some of our system’s disk space, it is good practice to delete the downloaded file once the download has been done.
Step 3: Check the Directory
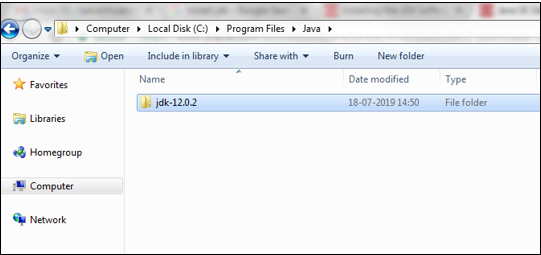
JDK gets installed in the C directory of our system by default having the path “C:\Program Files\Java\jdk-11.0”. If we make any change to this path at all, we need to make a note of it as it will be required in the upcoming steps.
This is the directory structure for our example.
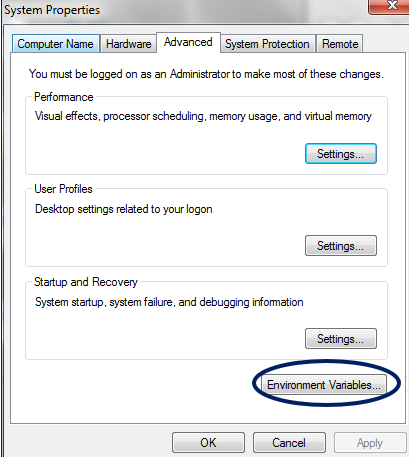
Step 4: Update the Environment Variables
We will need to update our system’s Environment variables with our installed JDK bin path to run the Java programs because while executing the programs, the command prompt will look for the complete JDK bin path.
The PATH variable in our system provides the exact location of executables that will be used for running Java programs, such as javac and java. The CLASSPATH variable provides us with the library file's location.
If we do not set the PATH variable, we will specify the full path to the JDK bin every time we run a program.
For example: C:\> “C:\Program Files\Java\jdk-11.0\bin\javac” TestClass.java
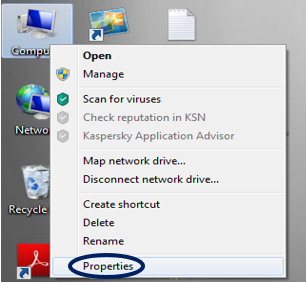
So to set these variables, first right-click on My PC and select Properties.
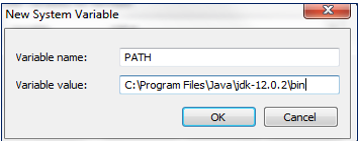
If we already have the PATH variable, we can edit it by adding it to the existing values.
Click on the OK button to apply the changes.
Step 5: Verify the Java Installation
Open the command prompt and enter the command “java –version”, and if it runs successfully, Java has been successfully installed.
Now that we have seen the steps to install JDK, let the programming fun begin!
Step 6: Run the Java code